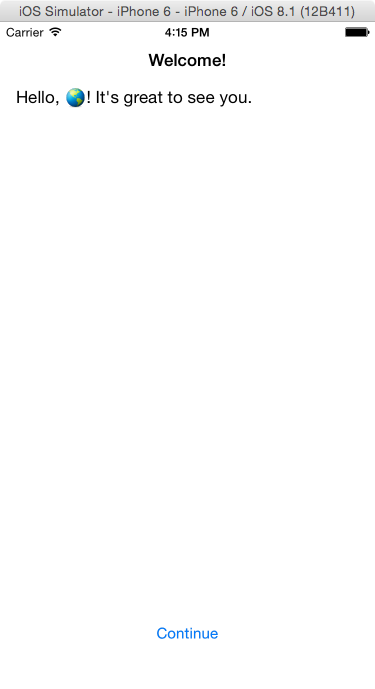
I recently ran through the process localizing a client’s app. It took some time to fully wrap my head around the inner workings, but now in hindsight it seems relatively simple.
The general overview looks something like this:
- Identify strings that need localization
- Generate .strings files
- Export & send to translator
- Import translations
- Some Gotchas [Edit – this is new since this post was first published; I will add to it from time to time.]
If you would like to follow along at home, you can checkout the project on Github.
Pre-flight Check
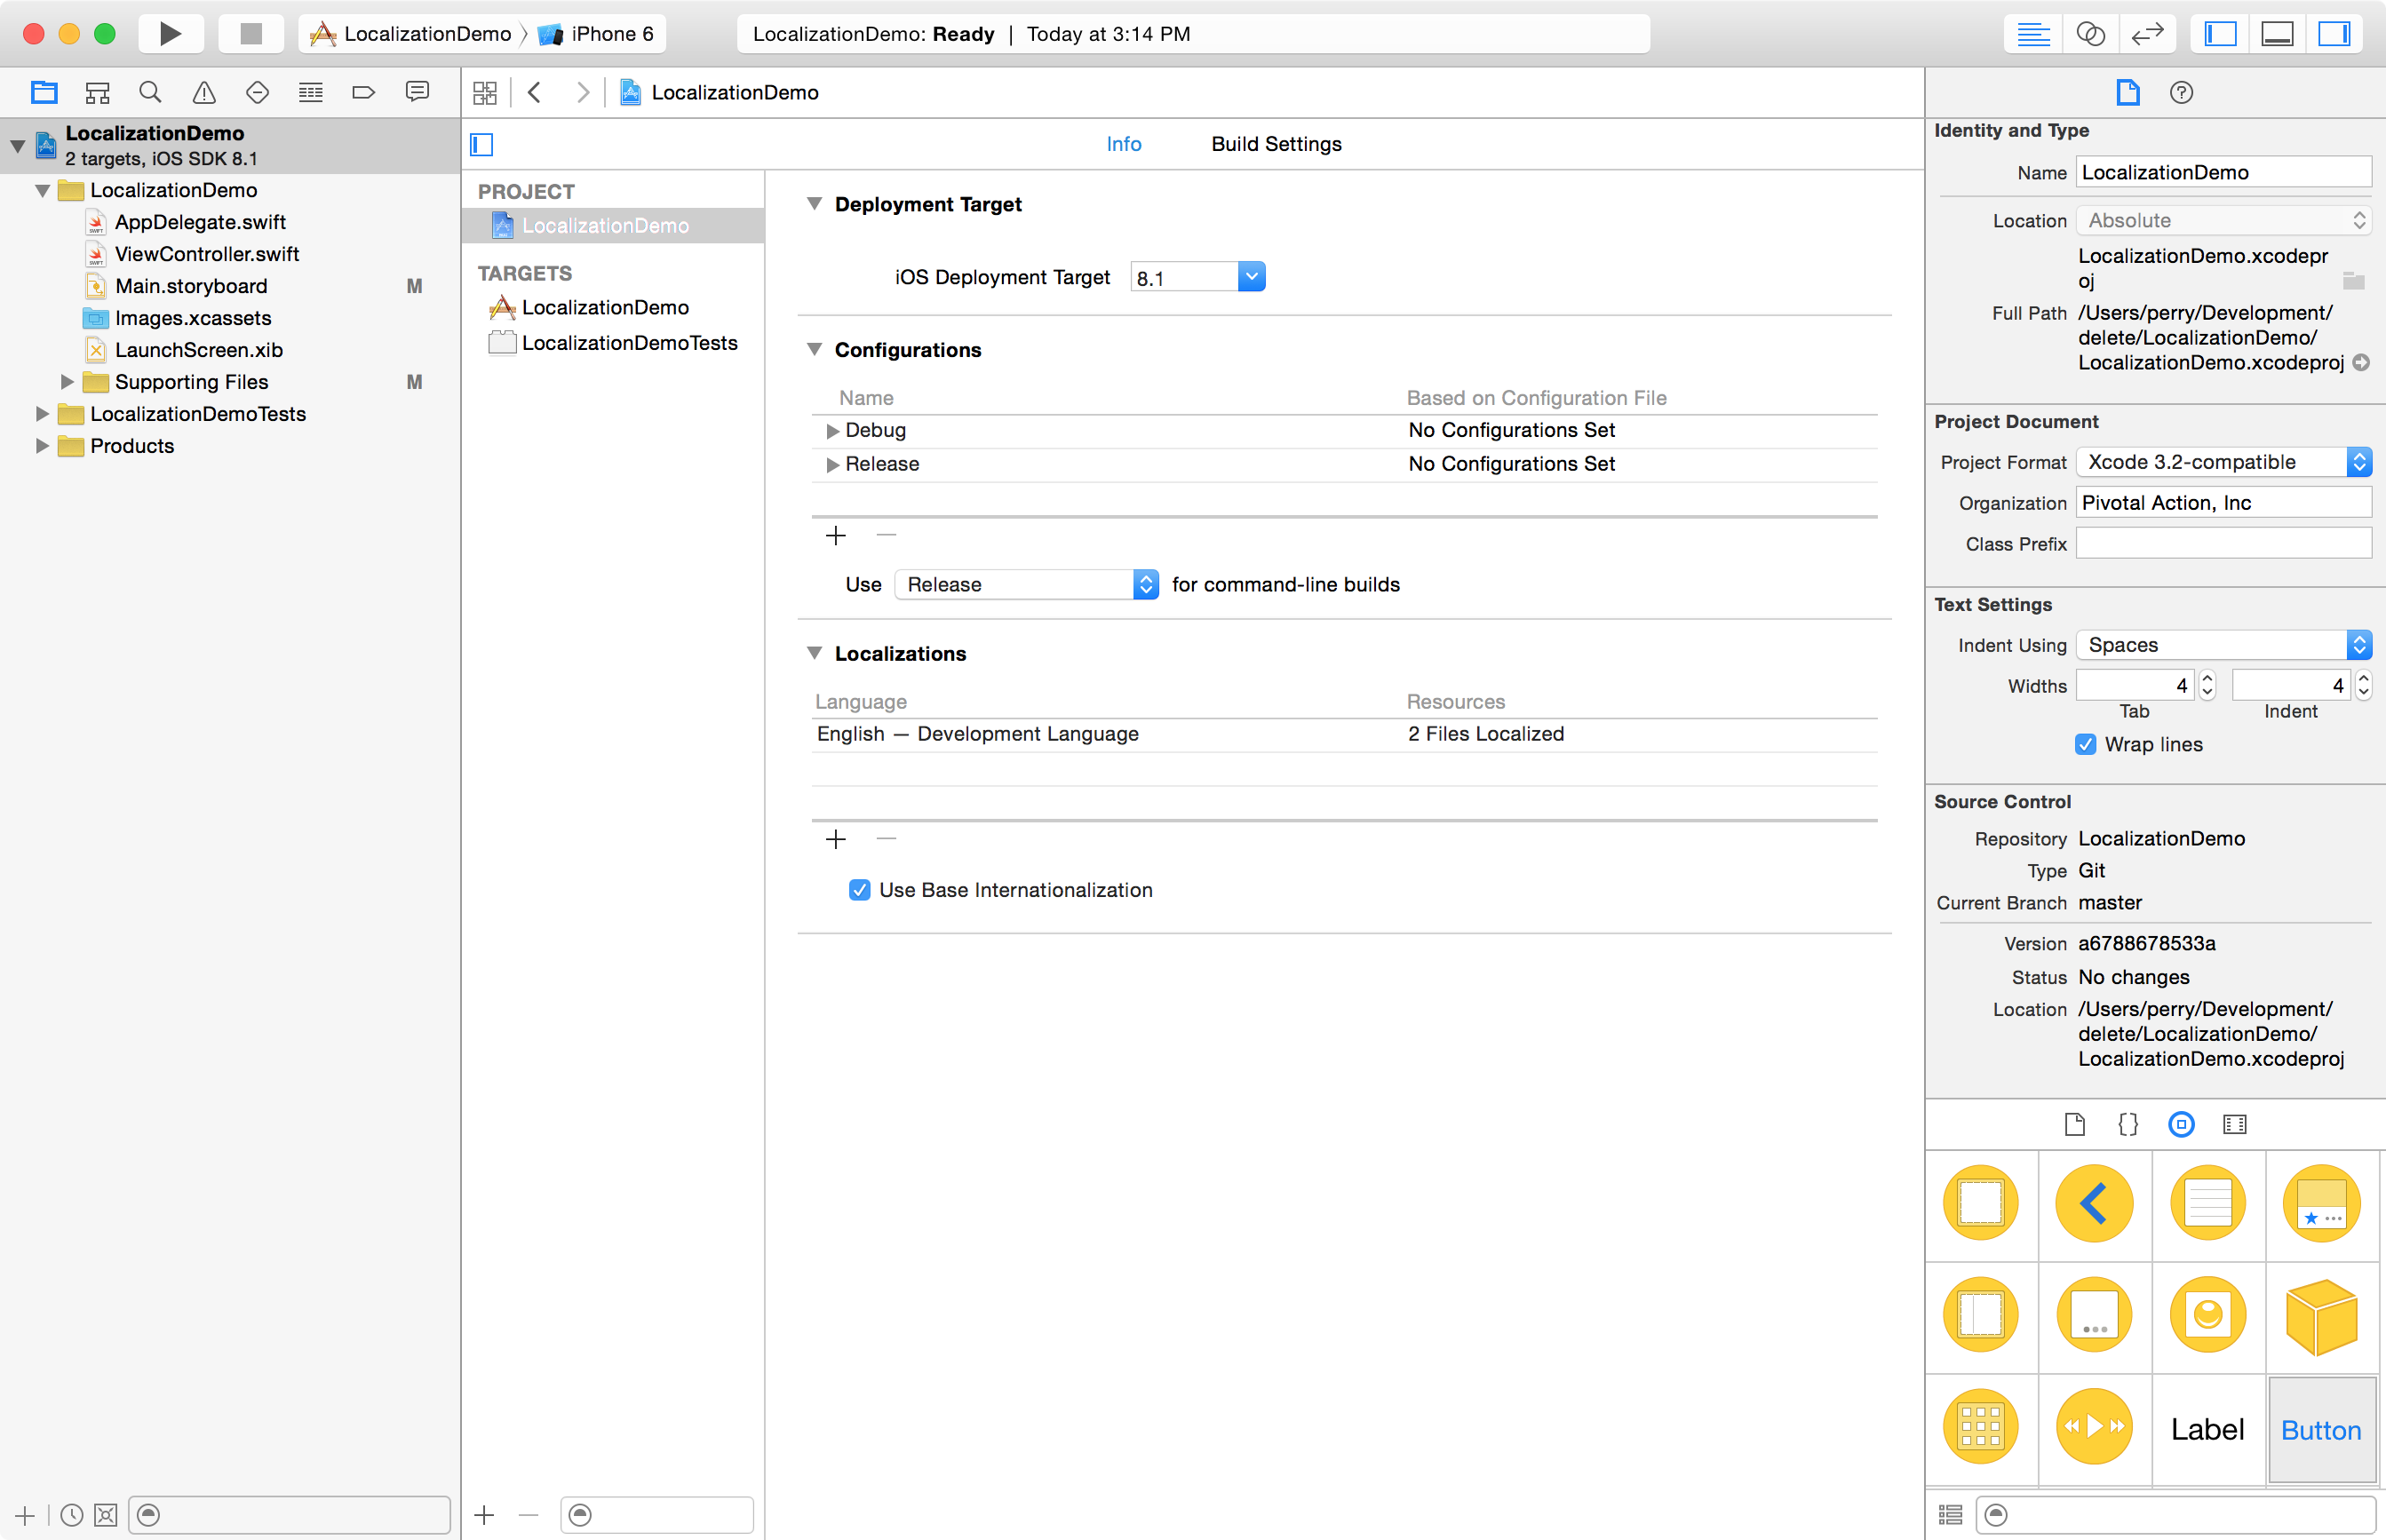
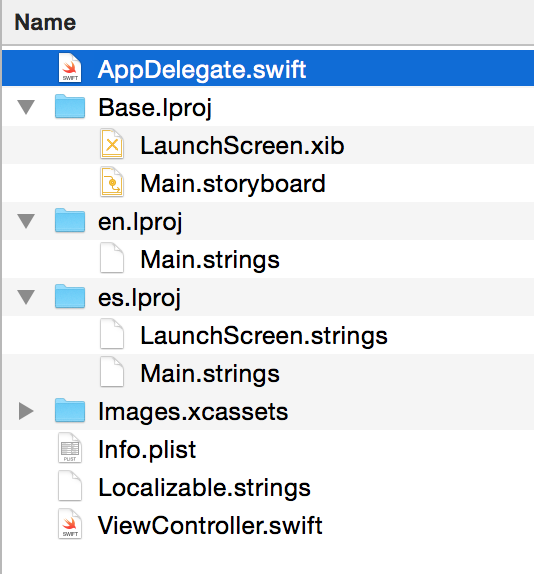
Before we get going, it’s important to make sure all our ducks are in a row. You need to ensure your project settings file has Base Localization turned on. Go ahead and add a second language, which will kick off a few other operations you’d have to run manually. Among them is adding the en.lproj and the other language’s lproj directory.
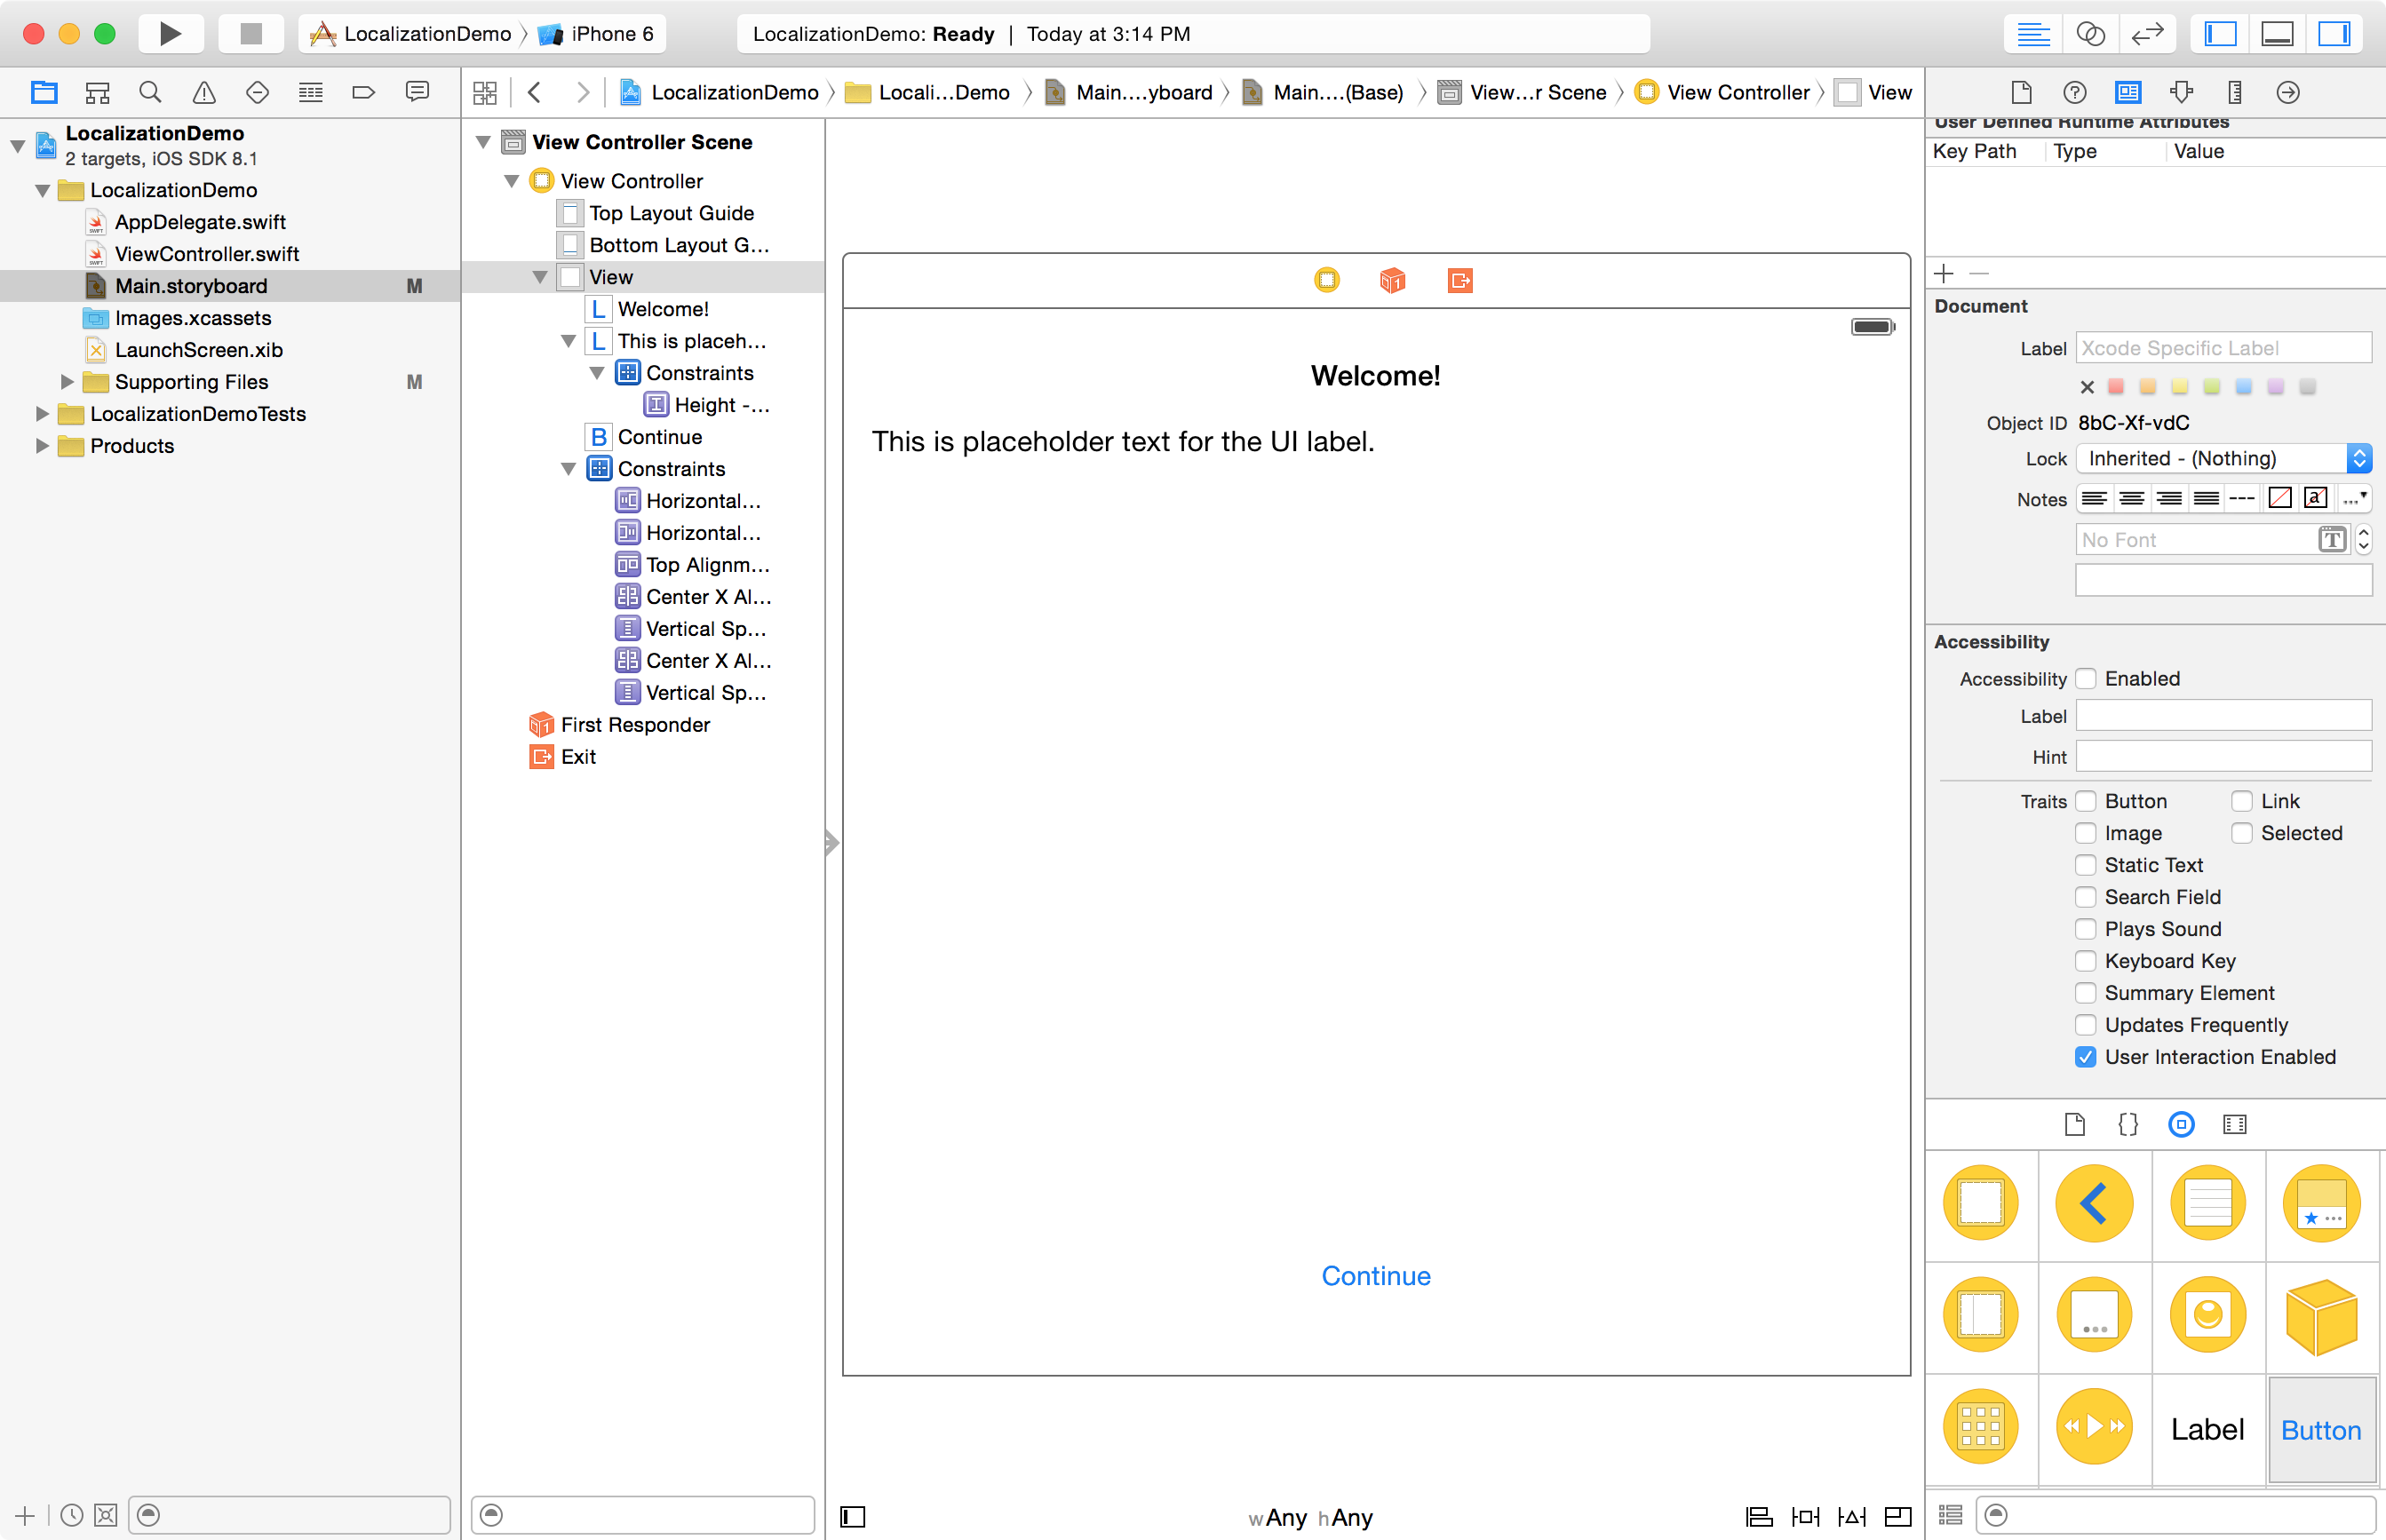
In most cases, you want to turn on Base localization for your storyboard and xibs. Do this by opening the storyboard or xib, and checking “Base” in the Localization section of the File Inspector. Make sure English and the second language are both checked and the type is Localizable Strings, not Interface Builder Storyboard. This tells the app to use the base localized storyboard for all the layout, and the strings as the language-specific content source.
You should have something similar to this
Identification
The first step is to identify strings that need to be localized. It shouldn’t be hard – anything user-facing should be translated, except for a few words, such as brand and app names (though you can localize the app name if you wish).
Let’s start with some code.
@IBOutlet weak var introLabel: UILabel!
override func viewDidLoad() {
    super.viewDidLoad()
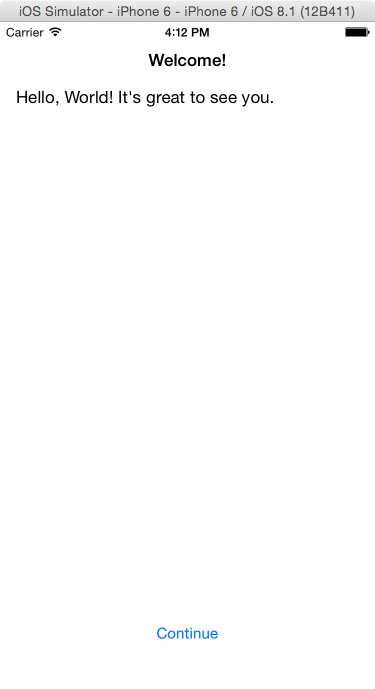
    introLabel?.text = "Hello, World! It's great to see you.";
}
This is a likely scenario – you’re setting text programmatically. The problem is that it’s only going to be in one language. The first step is to use the NSLocalizedString to provide a key name, and a comment used by the translator.
While you can rely on autocomplete to give you a rather verbose NSLocalizedString function, use this tip to take advantage of default values, leaving you with something equivalent to the Objective-C macro. For starters, use your English string as the key:
introLabel?.text = NSLocalizedString("Hello, World! It's great to see you.", comment: "A friendly greeting presented to the user when first opening the app.");
(We’ll change the key name later). Do this for every string you want translated.
Generate Your Strings
It’s time to run the genstrings command in the terminal – this will take all those NSLocalizedString keys and comments and spit them out in a strings file.
find . -name *.swift | xargs genstrings -o en.lproj
Note: This will only work if you have the en.lproj directory created as part of our Pre Flight. Go ahead and drag the en.lproj/Localizable.strings file into your project. Put it in the Supporting Files group. Open it up. You should see this,
/* A friendly greeting presented to the user when first opening the app. */
"Hello, World! It's great to see you." = "Hello, World! It's great to see you.";
Caution: From this point on, you should not run genstrings on everything – only on new files that haven’t been processed yet. genstrings will overwrite.
Let’s change the key name in the .swift file and the .strings file:
introLabel?.text = NSLocalizedString("Message_GreetingText", comment: "A friendly greeting presented to the user when first opening the app.");
/* A friendly greeting presented to the user when first opening the app. */
 "Message_GreetingText" = "Hello, World! It's great to see you.";
Run the app. Still works. Now, go through your strings and swap out the keys for something not quite so specific. After all, your text could change, so a descriptive key would be helpful.
Now, change the value in the Localizable.strings file and re-run. Great, right!? You can see it’s working just fine – NSLocalizedString is correctly loading the content from the strings file. Time to move on.
Storyboards & xibs
Remember the preflight where some things happened, and maybe you didn’t understand it? Let’s look to storyboard in the Project Navigator. Notice that disclosure arrow to the left? Click it. I’m looking at the Main.storyboard (Base), Main.strings (English), and Main.strings (Spanish). Go ahead and click on the Main.strings (English) file.
Yuck!
Unfortunately, your’e kind of stuck with these ugly key names. They refer to the XML IDs in the interface file. If you look at the strings file in my demo project, you’ll also see accessibilityHint and accessibilityLabel values. It’s important that accessibility information (you should have it) be localized for screen readers.
Change one of the normalTitle values and re-run the app.
Pretty neat, huh?
Tip: If you ever need to add new UI elements to the interface file, work on the Base storyboard, then toggle the development language (e.g., English) From Localizable Strings to Interface Builder Storyboard, and back to Strings. The file will be re-generated. (You’ll be asked to confirm you want to do the conversion at both points).
Tip: Don’t bother trying to change the comments, either, unless you absolutely know you’re done tweaking the interface. It is more helpful to provide translators with screenshots if they are kind enough to take them. Context goes a long way.
Caution: There’s one problem you will run into – UITextViews. For some reason, as of iOS 8.1, an iOS bug prevents UITextView text values from updating. You’ll have to set it separately via NSLocalizedString. It’s a pain.
Export
Time for export. Xcode 6 introduces xliff file support – something that I understand is an industry standard in the translation community. To begin, select the top-level project in the Project Navigator, then go to the Editor menu > Export for localization…
In the dialogue that follows, select “Development Language Only”.
Save the file anywhere (I like to keep it versioned in the project root… on the filesystem, not in the actual Xcode project). I usually give it a name like “Translation Files”. It might take a few moments to process.
When you’re done, you’ll have a handy file called en.xliff (if English is your dev language). This is what you send off to the translator.
Import
The import process is easy. Select the project, then go to Editor > Import Localizations… . Xcode will do the rest.
Testing
Besides testing in your development language, make sure all the strings are displayed properly. You can even do this before a single word has been translated. Try running the app with pseudo localization. Open the scheme settings (Product > Scheme > Edit Scheme), select the Run group, and then click on the Options tab.
Check Localization Debugging (will show non-localized strings in all-caps).
Application Language – I often use Double Length pseudo language. It makes all your strings twice as long. Sometimes you’ll see some funny formatting, especially if you have string substitutions (e.g. stringWithFormat) as part of your values. That’s ok – it’ll still work.
You can also export your xliff to an online service that will provide you with automatically generated pseudo languages you can try in the app. It’s funky looking, but it gets the job done. They’ll provide you with the appropriate instructions for their service.
Some Gotchas
NSLocalizedString with table
I didn’t catch this at first on a recent project. It’s subtle, yet frustrating to diagnose.
When using NSLocalizedString, and you reference a table, the translation export procedure will create an entry in the xliff file for the tableName.strings, which means on import, the appropriate .strings file will be generated. It’s worth noting.
Look for tableGenerationExample() in the demo ViewController, then look in the en.xliff export file. Scroll down until you find this section,
<file original="LocalizationDemo/generated_table.strings" source-language="en" datatype="plaintext">
Look familiar?
